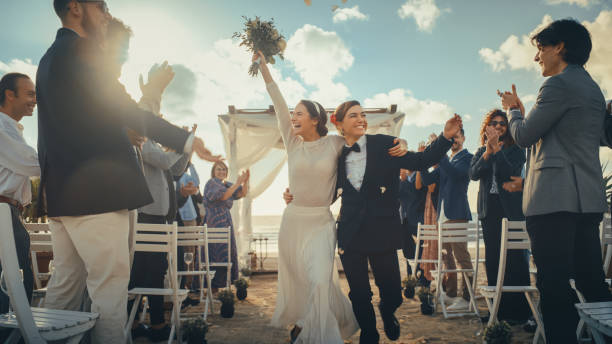
Three weeks before my best friend's wedding, she texted me in a panic. The videographer had cancelled. Not postponed — cancelled, with a vague excuse about double-booking. She'd already spent months planning every detail, and suddenly there was a gap in her vision that felt impossible to fill on short notice.
I'm not a videographer. I run a lifestyle blog and manage social accounts for two small brands. But I told her I'd figure something out — a highlight reel, a fun montage, something to play during the reception. What happened next changed not just her wedding night, but the entire way I approach visual content creation.
I'd heard about AI-powered creative tools but never seriously explored them. My workflow was firmly stuck in the Canva-plus-stock-photos era. But with a deadline looming and zero budget for a replacement videographer, I started researching AI video effects. That's how I landed on GenMix AI, a platform that transforms photos into animated videos and stylised images using pre-built effect templates.
The underlying technology is more sophisticated than I initially assumed. For video effects, the AI analyses your uploaded photo to understand body structure, posture, and spatial positioning. It then generates new frames that simulate realistic movement — essentially creating a video sequence from a single still image. Different effect templates draw from different motion datasets: dance movements, cinematic camera pans, stylised transformations.
For image effects, the approach is different. Multi-reference image models (architectures like Nano Banana 2) take your input photos and blend them with a specific art style template. The more reference images you provide, the more accurate the output becomes. I found that 3-4 reference photos consistently hit the sweet spot between accuracy and processing time.
Before testing this myself, I had no real understanding of what "AI video generation" actually meant. I assumed it was basically advanced Photoshop filters. The reality is far more interesting. Here's how AI creative effects compare to the traditional approaches most content creators are familiar with:
When I uploaded the couple's engagement photo, the AI identified their body positions, analysed the lighting and perspective, then generated movement that maintained those spatial relationships. It's not perfect — there are moments where physics gets slightly weird — but it's far beyond what I expected from a tool that takes under two minutes.
For my first real experiment, I grabbed an engagement photo of the couple — a clean, full-body shot with good lighting against a simple background. I ran it through the AI Twerk Generator to see what would happen when a still image gets animated into a dance sequence.
The result genuinely surprised me. The AI preserved the couple's appearance — their outfits, facial features, body proportions — while generating fluid dance movement that looked natural enough to share. Was it indistinguishable from real footage? No. There was a slight shimmer around the edges and the background had that telltale AI softness. But played on a phone screen at a wedding reception, with music and laughter in the background? It was more than good enough.
That first video took about 90 seconds to generate. I ended up creating twelve variations across different photos over the next hour, selecting the best five for the final wedding montage. The engagement numbers when I later posted a clip on Instagram told a clear story: that single AI-generated dance video got 4x the engagement of my usual static image posts.
After generating several dozen videos and images across three weeks of experimentation, I learned exactly what produces shareable results versus disappointing failures. Here's everything I wish I'd known from the start.
Input quality determines output quality more than any other variable. Before uploading a photo, run through this checklist:
Full body visible — head to toe, or at minimum head to knees. The AI needs body context to generate convincing movement.
Clear focus — no motion blur, no out-of-focus areas. Blurry input produces blurry, unconvincing output.
Good lighting — natural light works best. Even exposure with visible body definition and contours. Harsh shadows and backlit silhouettes confuse the AI.
Simple background — solid walls, blurred outdoor scenes, plain surfaces. Busy, cluttered backgrounds produce weird edge artifacts.
Natural standing position — balanced, grounded poses translate to smoother motion. Avoid action shots, mid-jump photos, or extreme angles.
Single person in frame — group photos produce unpredictable results. The AI may focus on the wrong person or try to animate everyone simultaneously.
Minimal editing — avoid heavy Instagram filters, beauty mode, or dramatic colour grading. Use original, unedited photos whenever possible.
Aspect ratio matters. Choose your ratio before generating, not after. 9:16 for TikTok and Reels, 16:9 for YouTube and blog embeds, 1:1 for Instagram feed posts. Cropping after generation wastes the AI's composition work.
Generate multiple variations. The first result is rarely the best. I typically generate 2-3 versions of each photo and pick the winner. Since each generation uses a predictable number of credits, this is easy to budget for.
Test with throwaway photos first. Before using your best content photos, run a quick test with a casual shot to calibrate your expectations for each effect template.
Save immediately. Download your results as soon as you're satisfied. Don't assume you can regenerate the exact same output later — results vary between runs.
Over-filtered source photos. Heavy Instagram filters and beauty mode confuse the AI's understanding of the subject. Stick to originals.
Expecting custom choreography. Effect templates apply pre-trained motion patterns — you're selecting a style, not directing specific movements.
Using the same template repeatedly. Your audience notices repetition quickly. Rotate between dance, transformation, and cinematic effects.
Low-resolution source images. Screenshots from social media or heavily compressed photos produce pixelated, unconvincing results. Use the highest quality source available.
To put this in context, here's how AI creative effects compare against every content creation approach I've personally tried over the past two years:
AI effects don't replace every other approach — they fill a specific gap. When I need scroll-stopping social media content at volume, nothing else comes close to the time-to-output ratio. When I need a polished brand campaign piece, I still work with a freelancer. The key is knowing which tool fits which job.
The wedding montage opened my eyes to video effects, but it was image generation that changed my daily workflow. I'd been struggling with brand consistency across my blog for years — every post used different stock images with different aesthetics. I wanted a recognisable visual identity, but commissioning custom illustrations was out of budget.
I experimented with several AI image templates that transform photos into specific art styles. The one that clicked for my brand was the south park character maker. I uploaded photos of myself and my regular collaborators, and the AI generated cartoon avatars in that distinctive animated style.
The consistency was what impressed me most. Every avatar shared the same art direction, colour palette, and proportions — which meant I could use them as recurring characters across my entire blog. Author bios, featured images, newsletter headers, social media profile pictures. For the first time, my content had a cohesive visual identity that readers could recognise at a glance.
Three months after that wedding, AI effects are a permanent fixture in my content process. Here's the practical breakdown:
Monday: Plan and batch. I review my content calendar and identify which posts need visual assets. Typically 2-3 video effects for social media promotion and 1-2 styled images for blog headers or newsletter graphics.
Monday morning: Generate. I spend 30-45 minutes generating the week's visual content in one focused session. Upload photos, select templates, generate variations, pick the best output from each batch.
Throughout the week: Post-process and publish. I add text overlays and branding in CapCut (video) or Canva (images). The AI handles the creative heavy lifting — the animation, the style transfer, the rendering. I handle the messaging and context.
Friday: Review performance. I check engagement metrics to see which effect styles performed best that week. This informs my template selection for the following week.
Total weekly time investment: under one hour. Before AI effects, visual content creation consumed most of my Thursday — an entire working day I've now reclaimed for writing, which is what actually grows a blog.
I'd be doing you a disservice if I painted this as a magic solution. After three months of daily use, here's what you should realistically expect:
Video length is capped. AI-generated clips run 5-15 seconds. They're ideal for Reels, TikTok, and social media teasers — not for replacing a full video production. For longer content, I stitch multiple generations together or use them as B-roll within a larger edit.
Results vary between generations. Running the same photo through the same template twice produces similar but not identical output. For social media this hardly matters, but for branded materials where consistency is expected, plan to generate 3-4 variations and select the best.
It's not free. These platforms operate on subscription plans with monthly credits. Each generation consumes credits, with more complex effects costing more. It's dramatically cheaper than hiring a designer — but it's a real line item in your content budget.
Complex scenes produce artifacts. Multiple subjects, busy backgrounds, reflective clothing, and unusual body positions all reduce output quality. The AI works best with clean, simple compositions.
It's an interpretation, not a direction. You choose the effect style, but you can't micromanage specific movements or transitions. The AI generates motion based on training data patterns, not your creative direction.
Based on my own experience and conversations with other creators, here's where AI effects deliver the most value:
Bloggers and newsletter writers who need consistent visual content but don't have design skills or budgets for custom illustration.
Social media managers juggling multiple platforms and needing high-volume content that actually stops the scroll.
Small business owners creating their own promotional content without a marketing team.
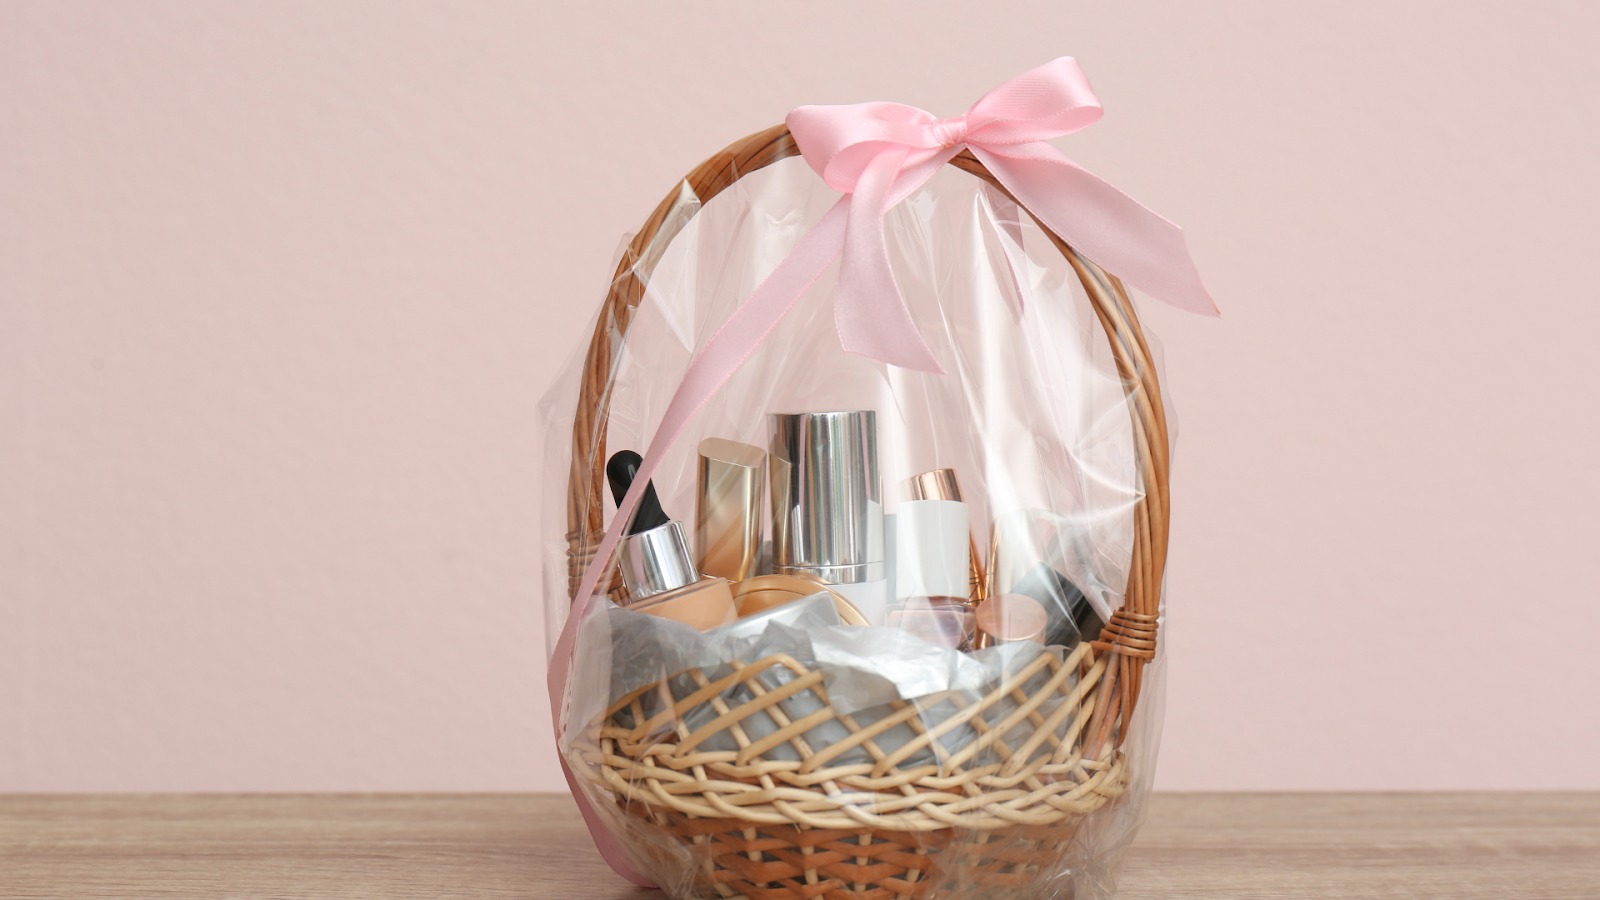
Event planners and wedding organisers who need quick, shareable video content from existing photos.
Anyone who's been avoiding video content because the production overhead felt insurmountable.
If you fall into any of these categories, the learning curve is measured in minutes — not weeks. Start with one photo and one effect. See how the output compares to what you've been producing manually. You might find, like I did, that the creative bottleneck you accepted as permanent was actually just waiting for the right tool to break it open.
That wedding montage I mentioned? It played during the reception dinner to a standing ovation. My friend still doesn't quite believe I made it in an afternoon. Neither do I, honestly.
Last updated: March 2026


Want to add a comment?