Japan moves fast. Your mobile should too. An eSIM for Japan lets you buy, install, and test data before you fly. No shop visits. No plastic. You can keep your regular SIM active for OTPs and still use data on the new line. Plans are clear, with simple top ups and hotspot options. Coverage is strong in major cities and rail routes. If you plan multi-country travel later, a global eSIM keeps life simple across borders. The goal is easy: land, open maps, call a ride, and start your trip without queues or forms.
An eSIM is a kind of digital you can install on your phone. You add it by scanning a QR code or using an app. There is no card to insert. Setup takes minutes at home. In Japan, arrivals can be late and stations can be busy. With an eSIM, you skip counters and go online at the gate. Dual SIM settings let you keep your home number for calls and SMS, while data runs on the travel line. Topping up is simple inside the app. For city hops, rail journeys, and day trips, it feels smooth and quick. Less waiting, more exploring.
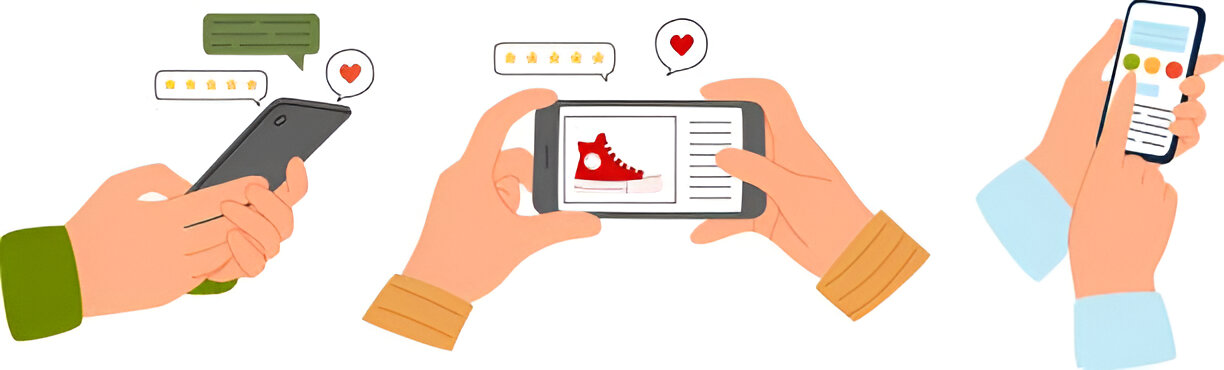
Buy the plan online. Get a QR code in your email or app. Scan it, name the line, and set it as your mobile data. Turn on data roaming for that line. Test with a quick web page. The whole flow takes about ten minutes, often less. Do it a day before you fly. That way, you land and your phone is ready. No hunting for kiosks. No store hours to match. One small prep step saves time on arrival.
Airports can be crowded. Counters close for breaks. Queues move slowly when forms or ID checks are needed. With an eSIM you avoid that. You walk past the counters and head to the train or taxi. This helps if you land late at night or with kids. Simple as that.
Scan the QR, follow the prompts, and set the data line. If asked, check the APN in the plan details. Turn on data roaming and test. If speeds feel slow, toggle airplane mode for ten seconds. The steps are short and easy to follow.
Travel days need maps, rides, and quick messages. An eSIM covers that from the first minute. Keep your regular SIM active for banking and OTPs. Use the new line for data, photos, and bookings. Hotspot works on many plans, so a laptop can join when needed. Top up inside the app if you run low. No need to search for a store. It keeps your focus on food, sights, and plans, not on phone counters.
Buying is simple. Pick a trusted provider. Match plan size to trip length. Check hotspot rules and fair use notes. Pay online with a card or wallet. You will get a QR code and setup steps. Install at home, then activate when you are ready to use data.
Start with basics that matter on a trip. Look for clear plan pages with data size, validity days, supported networks, and hotspot rules. Read any fair use notes, like daily caps or speed limits. Check support hours and refund terms. See if top ups are easy in the app. If your route includes rural legs, prefer providers that show strong partner networks.
Open Settings and look for Add eSIM. On iPhone, it shows under Mobile Service. On many Android phones it appears under Connections or SIM Manager. Also confirm your phone is unlocked. A locked phone can block new plans. Check your model on the maker’s site if unsure. This two minute check avoids airport surprises.
Choose the plan size that fits your trip. Seven days for short stays. Fifteen or thirty days for longer visits. Complete payment in the app or site. You will receive a QR code by email or inside the app. Save it. Some providers also offer in app install with no QR. Keep your invoice for expense claims. If your plans change, many providers let you shift the start date or extend validity with a top up.
Open your phone’s eSIM add screen and scan the QR. Name the line, such as “Japan Data.” Set it as your data line. Keep your regular SIM for calls and SMS. Turn on data roaming for the new line. Test with a quick web page. If there is no data, restart the phone once, then check APN settings listed in the plan. Activate the plan on arrival to start the validity days only when you need them.
The concept is straightforward. You make arrangements one time at home, and you will have everything during the rest of your trip. An eSIM for Japan will save time, you will not be waiting in lines, and it will preserve your home's number for OTPs. You control data, top up when needed, and switch lines in Settings in seconds. If you plan to cross borders later, a global eSIM can cover more countries with one setup. Pick a clean plan, install the profile, and test. When you land, your maps load, your ride comes, and your holiday starts right away.


Want to add a comment?
